Standard 5-inch residential gutters might overwhelm shed gutters, especially on smaller structures. Many practical options work great for sheds, including simple DIY solutions. A 90mm PVC pipe system makes a perfect starting point for beginners.
Garden shed gutters come in all sizes and styles. Mini gutters give sheds a more balanced look without losing any function. Seamless aluminum gutters in 16-foot lengths work perfectly for typical 12×12 shed installations.
This piece walks you through picking and installing the right gutter system for your shed. You’ll learn everything from taking the original measurements to testing the water flow. We cover the work needed for wooden structures, metal sheds, and plastic installations to help you finish this project right.
Why Your Shed Needs Gutters: Benefits and Protection
Adding gutters to your shed might look optional, but they protect your investment better than most upgrades. Shed gutters protect both your structure and the surrounding area, though many people overlook them.
Preventing foundation damage and soil erosion
Rain pouring off your shed’s roof can cause real damage. The water doesn’t just soak into the ground harmlessly. This concentrated flow slowly wears away the soil near your shed’s base, which creates serious problems. Your shed might start sinking to one side if you don’t have gutters to direct the water away.
Your shed’s foundation gives it stability, and you need to protect it. Gutters direct water away from this vital area. They help maintain your foundation’s strength and stop expensive structural damage. The diverted water also keeps the soil from getting too wet, which prevents:
- Foundation settling or cracking over time
- Uneven support for your shed structure
- Progressive erosion that undermines stability
- Loss of landscaping around the shed perimeter
Experts say good grading isn’t enough to protect your shed, especially with concrete or slab bases that stick out past the building. Gutters become even more vital in these cases.
Protecting shed walls and doors from water damage
Rain hitting your shed walls might sound nice, but each storm causes tiny bits of damage. This constant water exposure can really cut short your shed’s life.
Water runs down your shed’s sides without gutters. This leads to rot, damaged coatings, and damp interiors. Wooden sheds suffer the most, but metal ones aren’t safe either. The weak spots are usually where pieces join together and at corner assembly holes.
The bottom of your shed walls gets the worst damage from rain splash-back. So, shed rain gutters keep water away from these weak spots. They help keep the wood dry and stop the moisture content from going above the critical 20% mark where rot starts.
Keeping the area around your shed dry and accessible
Gutters do more than protect your shed – they make the space around it more useful. Without gutters, rain creates muddy puddles that make it hard to reach your shed.
Garden shed gutters stop:
- Mud and dirt buildup against shed walls
- Mosquitoes and other pests from breeding
- Ugly water pools around your structure
- Damage to nearby plants and landscaping
Mini gutters for sheds create a cleaner, more usable outdoor space. You won’t have to deal with mud after every rainfall because the water flows where it should.
Here’s a bonus tip: place your downspouts strategically to send rainwater to garden beds or rain barrels. This smart approach turns potential damage into a resource for your garden.
Choosing the Right Gutters for Your Shed
Choosing gutters for your garden shed needs different thinking than picking ones for your home. The right choice comes down to how durable the material is, how easy it is to install, and what the weather’s like where you live. Let’s get into what matters to help you make a smart choice.
Vinyl vs. aluminum vs. PVC options
Material choices are the foundations of how well your shed gutter system will work and last. Each type has its own strengths based on what you need most.
Vinyl gutters are your best bet if you want to save money on shed projects. They’re light, simple to put up, and come in sections that click together—perfect if you like doing things yourself. Vinyl never rusts and needs little upkeep. Notwithstanding that, you should know about the downsides: vinyl can become brittle in really cold weather and might crack or sag if there’s lots of rain. These gutters usually last 10-20 years, but not as long in tough weather.
Aluminum gutters hit the sweet spot between price and quality. They don’t rust, they’re light, and this is a big deal as it means that they’re tougher than vinyl. Take care of them right, and aluminum shed gutters can stick around for 20-50 years. You can get them without seams, which means less chance of leaks—great for protecting your shed. While you’ll pay more upfront (aluminum costs $7-$12 per linear foot versus vinyl’s $3-7), they’re often worth more in the long run.
PVC gutters work well for sheds too. Like vinyl in many ways, PVC holds up nicely in mild weather and comes in different colors. The Holman 90mm PVC pipe system works great if you want to set up simple shed gutters yourself.
Mini gutters specifically designed for garden sheds
Regular house gutters often look too big on smaller buildings. The good news is that companies make mini guttering systems just right for garden sheds, summerhouses, and similar small structures.
These special shed rain gutters are a lot smaller than what you’d put on your house. FloPlast Mini Guttering, for example, is 76mm wide (about 3 inches)—compare that to regular house gutters at 4.5 inches. The mini ones are also shallower at just 1.5 inches instead of the usual 3 inches.
These right-sized systems look better on your shed but still handle water well. Many mini gutter kits include all you need: gutter pieces, brackets, end caps, and bendy downpipes.
Sizing considerations for small structures
Getting the size right matters even with these smaller gutters. Your shed gutters need to match up with:
- Roof drainage area – How much roof space drains into each gutter
- Roof pitch – Steeper roofs catch more rain from the wind, so they need bigger gutters
- Local rainfall intensity – You need tougher systems where it rains hard
Most garden sheds do fine with 5-inch K-style gutters or 6-inch half-round ones. Smaller sheds might work perfectly with 3-inch mini gutters. If you’re stuck between sizes, adding more downspouts often works better than going bigger—it spreads the water out without needing huge gutters.
Color and style options to match your shed
Making your shed gutters look good with the rest of the building boosts curb appeal. Modern gutter systems come in lots of great looks.
Vinyl and PVC gutters usually come in white, black, or brown—colors that work with most sheds. Aluminum gutters give you the most color choices, and many makers offer standard colors or can match what you want. You can also paint aluminum gutters to match your shed perfectly.
Here’s how to pick a style:
- Match your trim – Gutters that match your shed’s trim look neat and planned
- Blend with the roof – Gutters in roof-matching shades seem to disappear
- Contrast for accent – Bold choices (like black gutters on a white shed) can look really sharp
Note that the right-sized gutters that match well protect your shed and make it look better too.
Essential Tools and Materials for Gutter Installation
You’ll need the right tools and materials to install shed gutters successfully. Getting everything ready before you tuck into your project will save you multiple trips to the hardware store and will give you a smooth installation experience.
Simple tools every DIYer needs
Installing garden shed gutters requires several tools that most homeowners already have or can easily find. A measuring tape is significant to determine the exact lengths needed for your gutter system. A sturdy extension ladder with stabilizer arms will provide secure access to your shed’s roofline.
Your mini gutters need the right slope for water drainage, so a spirit level comes in handy. A hacksaw or pipe cutter lets you trim gutter sections precisely. On top of that, a cordless drill with the right bits makes it easy to secure brackets and downspouts.
Other tools you’ll need:
- Chalk line or string to mark gutter placement
- Screwdriver (both flathead and Phillips head)
- Caulking gun to apply sealant
- Workbench or sawhorse to prepare gutter sections
Materials shopping list
A standard 6′ x 4′ garden shed needs several components. We selected gutter sections in your preferred material (vinyl, aluminum, or PVC), along with fascia brackets installed at maximum 3-foot intervals.
Your materials list should have end caps to close off gutter ends, a stop-end outlet to connect downspouts, and downpipe sections with proper clips. Make sure to get 112-degree bend joints to direct water flow and enough screws to mount all components securely.
Figure out where you want the rainwater to drain before you start. You can direct it into a water butt, onto ground that slopes away from the shed, or into an existing drainage system. This choice affects which parts you’ll need to buy.
Optional accessories to boost performance
Your shed rain gutters can work even better with some extra accessories. Leaf guards keep debris from building up and reduce maintenance. These mesh-style protectors let water flow while keeping leaves and twigs out.
Rainwater diverters are a great way to direct water to different collection points or away from specific areas. Sheds without traditional fascia boards can use specialized mounting brackets that work with various shed types.
Using gutter sealant at joints and connections will give you better water-tightness and a longer-lasting system. Draw your planned gutter system on paper first to estimate quantities correctly and avoid buying extra materials.
This simple project, when done right with quality materials, will protect your garden structure for years to come.
Step-by-Step Shed Gutter Installation Guide
Let’s tuck into the actual installation process now that you have your materials ready. A weekend is all you need to install shed gutters with good planning and careful work.
Measuring and planning your gutter system
Grab a paper and sketch your gutter system first. Include spots for downspouts away from doors and windows. Your shed’s dimensions will help calculate the materials needed. The gutters need a slope of about 1/4 inch per 10 feet toward the downspouts. This small tilt will make water flow smoothly. Lay out everything on the ground or sawhorses to check if you have all parts before ladder work begins.
Marking and preparing the fascia board
Check your shed’s fascia board for any rot or damage. This straight board runs parallel to the roofline. Any weak sections won’t hold up well, so replace them. The fascia surface needs a good cleaning. Draw a chalk line to show where the gutters will sit. Remember to slope this line downward toward your planned downspout spots.
Installing hangers and brackets
Place brackets along your chalk line about 24-36 inches apart. Use screws to attach them firmly to the fascia board. Sheds without regular fascia can use special roof-mount hangers instead. A quick level check will confirm water flows toward the downspouts.
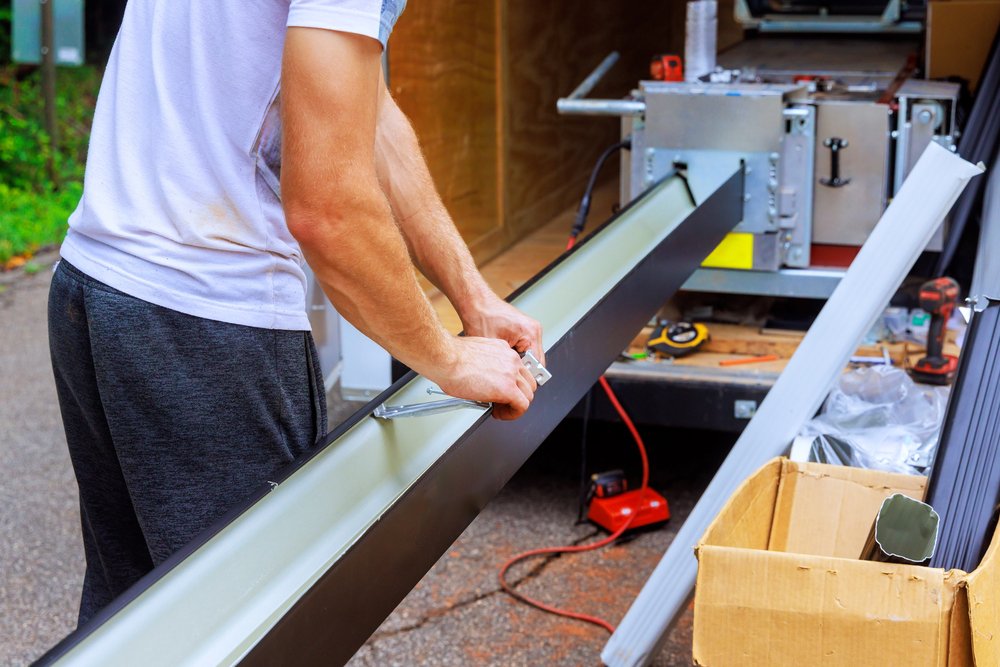
Cutting and fitting gutter sections
Cut your gutter pieces with a hacksaw or proper cutting tool. Overlap sections by 3 inches at every 16-foot mark. Water should flow over these overlaps, not into them. Add lap sealant at these spots to keep water out. Use pre-formed corner pieces or cut 45-degree angles for corners.
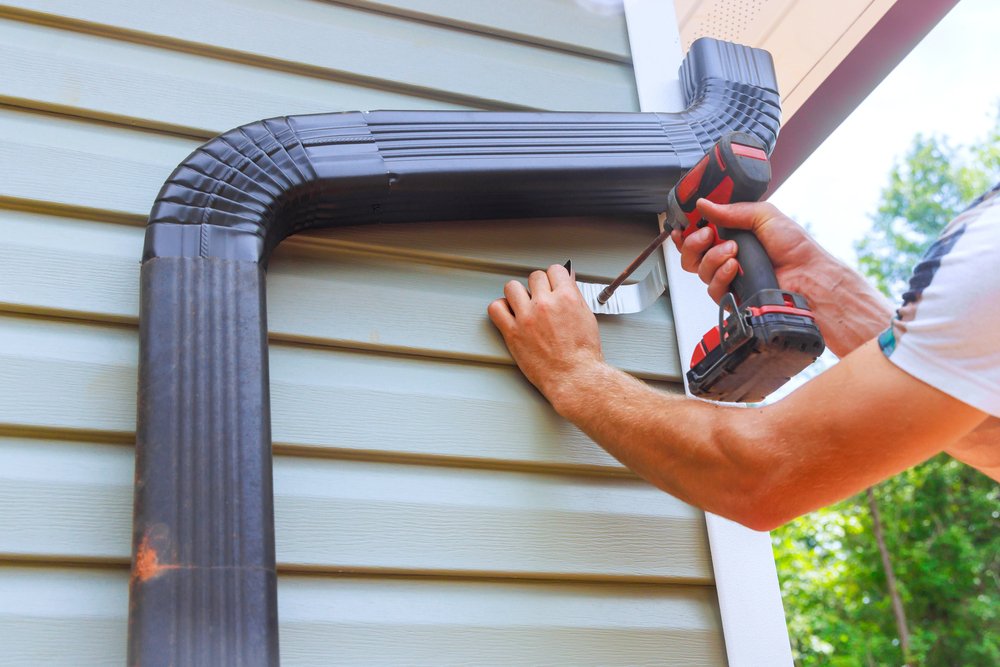
Adding end caps and downspouts
Secure end caps with rivets or screws and seal them well. Cut holes for downspouts with a hole saw. You’ll want one downspout for every 40 feet of gutter. Connect all downspout parts to guide water away from the shed’s base.
Final adjustments and water testing
Run a garden hose at the highest gutter point after installation. Watch how water moves through the system and look for leaks or drainage issues. Fix any bracket or seal problems before the next rain. This test will show if your garden shed’s gutters can handle water properly.
Solving Common Shed Gutter Installation Challenges
Gutter installations can throw unexpected challenges your way, even with the simplest setups. Here’s a look at common hurdles you might face while installing shed gutters and the best ways to handle them.
Installing on sheds without fascia boards
Most sheds don’t have the typical fascia boards you’d find on houses, which rules out standard gutter attachment methods. Roof straps work great as an alternative. These straps act like a sling for your gutter system and attach to the roof instead of a vertical board. With older roofs, you should place the strap over the shingles rather than underneath to avoid breaks and leaks.
Sheds that lack suitable mounting edges need a different approach. You can add a length of treated timber right onto the masonry below the roofline. This creates a makeshift fascia that gives you a solid surface to mount traditional gutter brackets.
Working with metal or plastic sheds
Metal or plastic sheds bring their own set of challenges, especially with warranties. Special clamp-on brackets solve this problem by eliminating the need to drill holes that might void manufacturer guarantees. These brackets grip the edge without tools, though you might need packing material to stabilize very thin edges.
Anti-slip material works well on slick metal or plastic surfaces – just like what you’d see on car dashboards. This extra grip keeps clamp-style brackets from sliding during heavy rain.
Dealing with steep roof pitches
Water moves faster down steep roofs, so you’ll need bigger gutters to handle the increased flow. Small gutters might miss the water completely during heavy rainfall as it shoots right past them.
A-frame sheds with very steep angles need gutters placed slightly below the roof plane. This setup lets snow and ice slide over instead of into the gutter, which prevents damage. The gutters will still catch rainwater effectively despite this adjustment.
Limited space solutions
Tight spaces between your shed and other structures call for creative thinking:
- Put downspouts where they won’t get in the way
- Use offset bends to direct around obstacles
- Add gutter hinges ($10-$25) so downspouts can fold up as needed
Tight spaces behind sheds have a simple DIY fix. You can make a custom gutter from a 90mm PVC pipe by cutting it lengthwise with a 25mm gap.
Conclusion
You can install shed gutters as a DIY project, even though it might look challenging at first. Your shed’s foundation stays protected with proper gutter installation that prevents water damage and keeps the area around it dry and usable.
The right materials and correct sizing will ensure lasting protection. Vinyl works great for budget-conscious homeowners, aluminum offers durability, and PVC makes installation easier. Mini gutters built for sheds look good and work well without overwhelming your structure’s appearance.
Your project’s success comes down to smart planning and exact execution. Get accurate measurements first, keep the right slope for drainage, and give everything a good test after you finish. Our suggested solutions help you direct through common challenges like working with metal sheds or steep pitches.
Your shed will last longer and stay protected with a good gutter system. Get all your tools and materials ready before you start and follow each step with care. Many DIY fans finish this project in a weekend. This quick improvement brings immediate benefits to your outdoor storage space.
