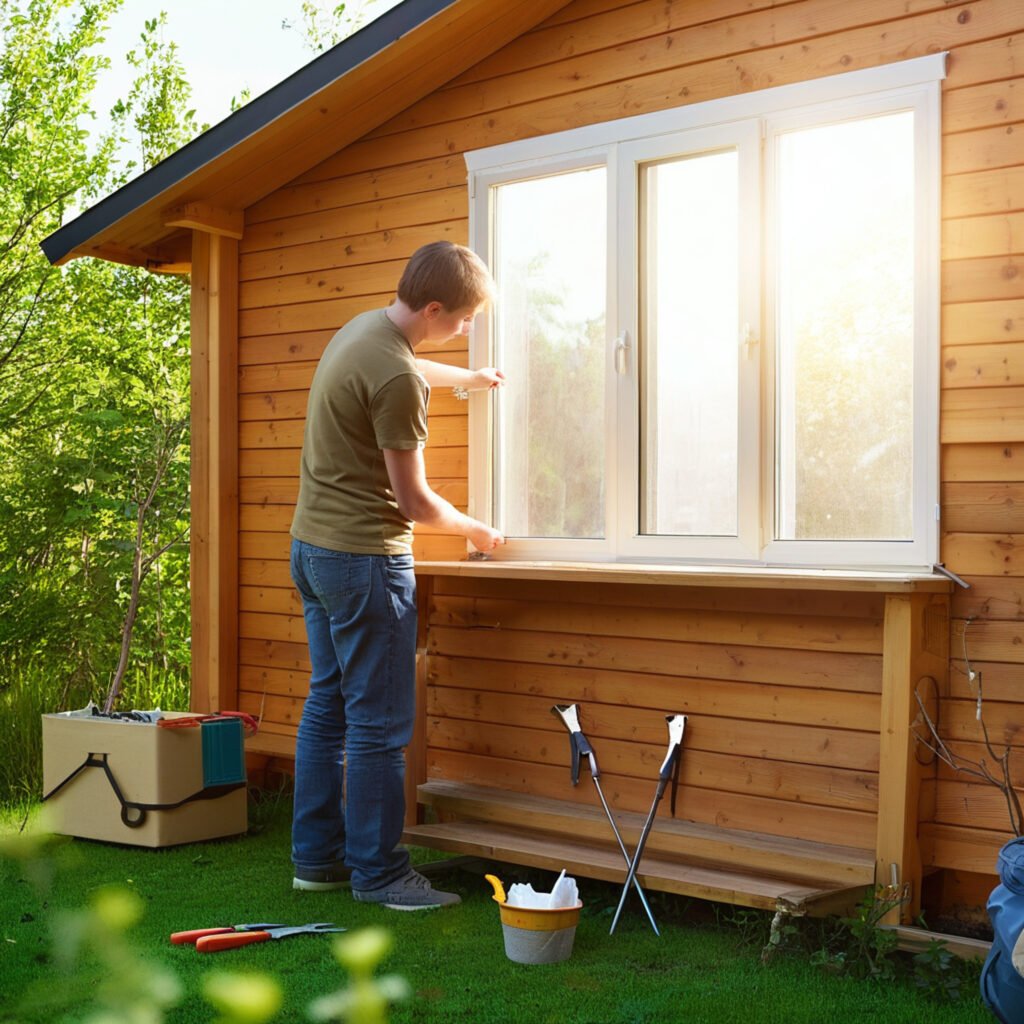
Need affordable shed windows without spending too much? I found that there was a way to save hundreds of dollars by installing DIY plexiglass windows instead of standard glass options. My shed renovation trip showed me how windows could change everything, and the process was surprisingly simple with the right tools.
You can design custom windows that match your shed’s style without paying for expensive pre-made options. Our tests of different cheap window installation methods included acrylic panels and proper ventilation systems. The best results came from adding 8-inch vents on opposite sides of the shed to control moisture and stop mold from growing. A few small windows can improve your shed’s looks and make it more useful.
Let me show you the steps to pick, measure, cut, and install windows that work and fit your budget. These tips will boost your confidence to upgrade your shed, whether you prefer Bosch tools or want the most affordable materials.
Choosing the Right Window Material
Your success with shed window installation starts with picking the right material. Each material choice will affect your project’s durability, cost, and looks in its own way.
Acrylic vs plexiglass vs glass: what’s best for your shed?
Many people don’t know that acrylic and Perspex are the same material – Perspex is just a brand name for premium acrylic. Both give you crystal clear views and last much longer than regular glass.
Acrylic stands out as the best choice for most DIY shed projects because it’s up to 20 times more impact-resistant than glass. You’ll find it easier to work with since it weighs less than half of what glass does. Glass breaks into dangerous, sharp pieces, but acrylic splits into larger, safer chunks if it breaks.
Acrylic stays clear in sunlight, unlike other materials that turn yellow. While it picks up scratches more easily than glass, it lets more light through – transmitting up to 92% of visible light compared to glass’s 80-90%.
When to use fixed vs openable windows
Fixed windows make sense in many situations. They keep the weather out better since they’re permanently sealed. This works great for storage sheds or spaces where you need to control the temperature.
Openable windows give you fresh air and natural cooling. You can use them to let heat escape and as emergency exits if needed. These windows work best in workshop sheds where you spend lots of time.
A smart way to plan your shed layout is to mix both types. Put fixed windows where you want great views, and add openable ones near your workbench or heat-producing tools for better airflow.
Where to find cheap shed windows online
Making your own windows often saves money, especially if you have tools already. Still, you’ll find good deals from online sellers too.
Home Depot has a whole section just for shed windows. You might want to check out ShedWindows&More.com and Shed-Parts.com for windows made specifically for sheds. Amazon also sells budget-friendly options with helpful customer reviews.
Pick materials and window types that match what you need. You’ll end up with a bright, useful shed that doesn’t break the bank.
Framing and Preparing the Window Opening
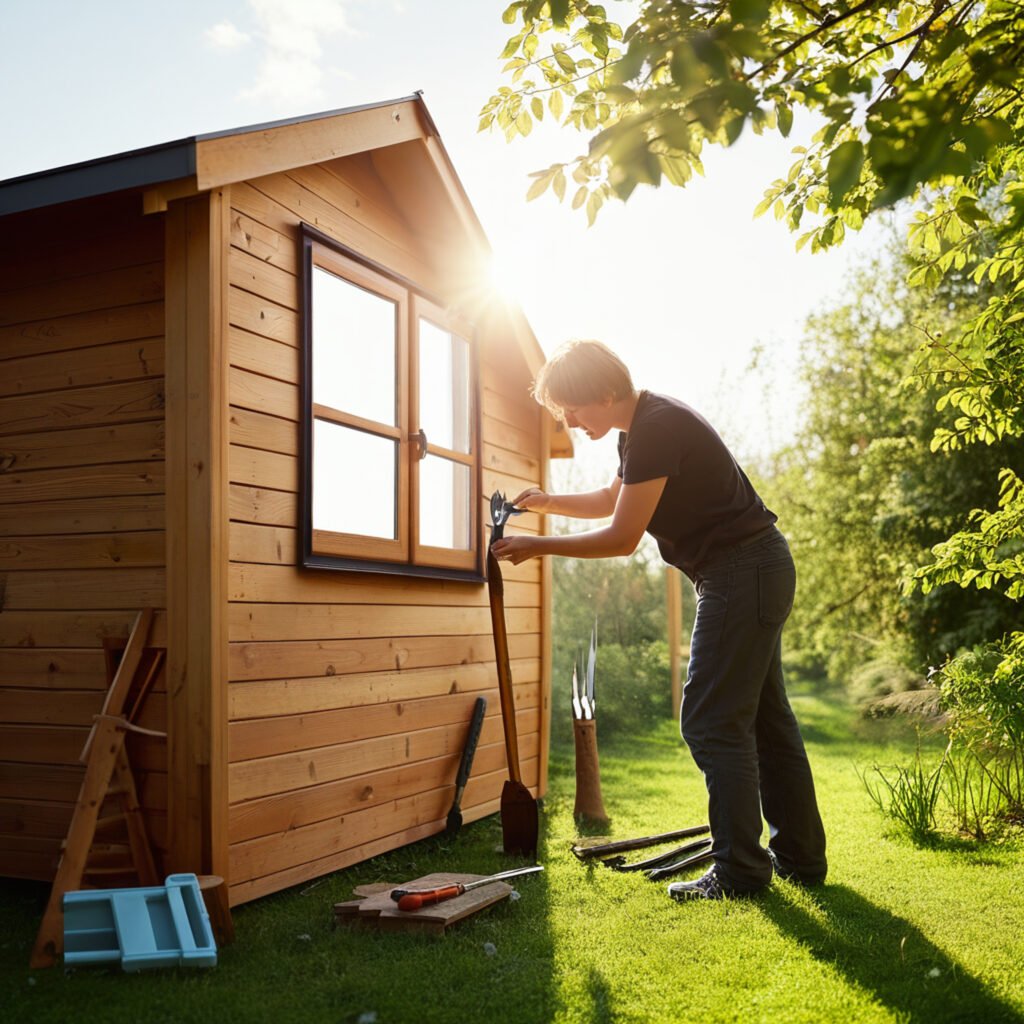
A solid window frame sets the foundation for a successful shed window installation. Your windows will fit and work perfectly for years when you get this step right.
How to measure and mark your window space
Start by getting your window’s exact dimensions before cutting anything. The basic rule says your rough opening should be about 1/2″ to 1″ bigger than your actual window size. Vinyl windows come 1/2″ smaller than their stated size, so your rough opening should match those dimensions. With aluminum windows, you’ll need a rough opening about 1/4″ larger.
Here’s what you need to do for perfect placement:
- Line up with your door by measuring from its top to keep the height consistent
- Place the window sill about 45.5″ from the floor for standard installations
- Grab a level to mark straight lines for the opening
It’s worth mentioning that rough opening requirements differ between window types, so check your manufacturer’s guide.
Installing PVC trim with a half-inch overhang
The next step after framing is adding trim with the right overhang to mount your window panels securely. Put 1.5-inch PVC trim around the whole window edge with a half-inch overhang into the opening. This overhang gives your acrylic or plexiglass panel a solid surface to rest on.
Let the trim stick out past the rough opening on all sides. This creates a clean look and adds support. You might want to add a small bead of caulking on top of the trim for extra weather protection.
Why field verification matters before cutting
A “dry fit” of your window is a vital step before making final cuts. This helps you:
- Check if the window fits the rough opening properly
- Make sure window flanges catch the frame correctly
- Confirm everything will be level and plumb
Having your window on-site during framing will help avoid mistakes that can get pricey. Put your window in place temporarily after marking the opening to double-check your measurements. Changes to framing are much easier than fixing cut openings that don’t fit right.
Installing the Window Panel
Your shed window assembly starts after proper preparation. Let’s take a closer look at the hands-on work that brings your project to life.
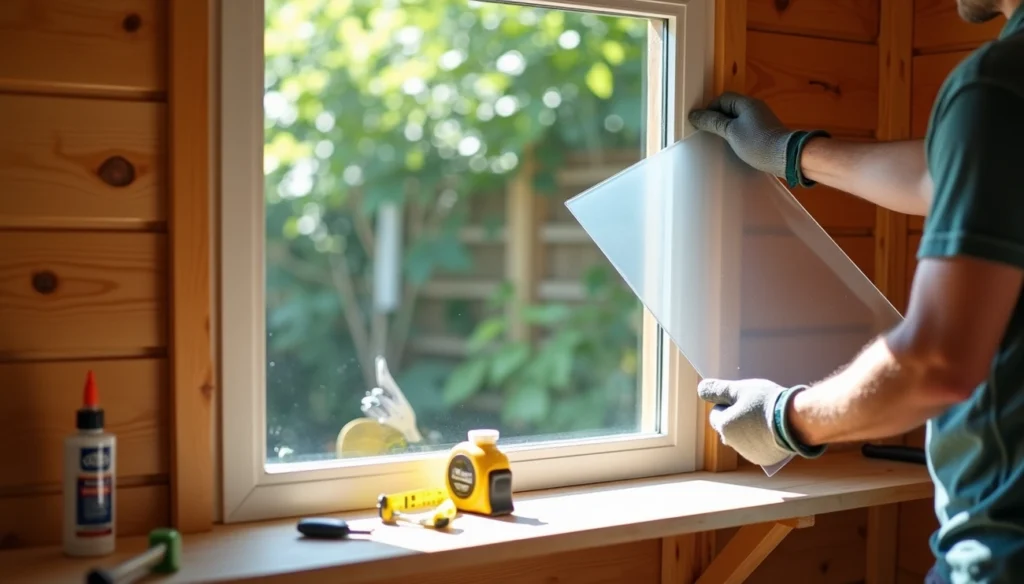
Cutting acrylic or plexiglass to size
Measuring twice before cutting will give a precise fit with your materials. A scoring knife works effectively on thin plexiglass (1/8″ or less). Make multiple shallow passes until you’ve nearly cut through, then snap along your work surface’s edge. Thicker sheets need a jigsaw with a metal-cutting blade. The protective film should stay on during cutting to prevent scratches.
Dry-fitting before final installation
The cut panel should be positioned into the framed opening to check the fit. This vital step helps you make adjustments before permanent placement. The panel should rest on the PVC trim’s overhang with equal spacing on all sides.
Using construction adhesive the right way
DAP Dyna Grip construction adhesive should be applied where plexiglass meets the trim. An even distribution works best without using too much that might squeeze out. A continuous bead around the perimeter creates optimal adhesion.
Cleaning up excess glue for a clean finish
Any adhesive overflow needs immediate removal. Hot water and a soft cloth work well for wet glue. Stubborn dried adhesive can be cleaned with rubbing alcohol or nail polish remover – don’t use much of either to protect your acrylic panel.
Lessons Learned and Pro Tips
My experience with several shed window projects has taught me valuable lessons that will save you time and money.
Why are thicker panels worth the extra cost?
Thicker panels may cost more upfront, but they last longer and won’t break easily. Double-strength glass (3.0 mm) works better than standard single-strength (2.2 mm) options. These windows give you better security and reduce outside noise. They’re a smart investment if you plan to use your shed for years.
How a larger overhang improves support
The right size overhangs protect your shed windows effectively (12″-18″ for eaves, 8″ for rakes). Larger overhangs stop water from flowing down the siding and getting into window frames. Your window and shed foundation stay protected from water damage, which helps your entire structure last longer.
Adding wood blocking for extra strength
Window stability depends on solid structural support. Each 2×4 in your window frame needs to be level and plumb. You can add ladder rafters that run perpendicular to regular rafters to make it even stronger.
Common mistakes to avoid
Watch out for these typical problems:
- Buying windows that don’t fit (measure thrice, buy once)
- Not reading the manufacturer’s instructions
- Skipping proper sealing and insulation around windows
- Not checking if windows are level and plumb during installation
Conclusion
DIY shed window installation combines practicality with budget-friendly solutions. My tests with various approaches show that acrylic panels give exceptional value. They combine durability, light transmission, and safety advantages over traditional glass. Quality materials will pay off through longer life and fewer replacements.
Your shed’s main purpose determines the choice between fixed and openable windows. Storage-only sheds work well with fixed options. Workshop spaces need openable variants that provide ventilation. Success depends on precise measurements and proper framing. Field verification becomes crucial before cutting materials.
Thicker panels prove their worth despite getting pricey at first. They resist accidental damage better and provide improved insulation. Proper overhangs protect your windows and shed structure from water damage and substantially extend their useful life.
Local home improvement stores or online retailers stock all the simple tools and materials needed for this project. My shed renovation experience taught me that patient preparation prevents mistakes during installation. A quick dry-fit of panels before final placement creates perfect alignment and professional results.
Building your own shed windows rewards you beyond saving money. You gain complete control over size, placement, and materials that pre-made options can’t match. These budget-friendly techniques work well for natural light, ventilation, or boosting your backyard’s appeal. You can reshape your ordinary shed into a functional, well-lit space that will serve you for years.