Safe electrical wiring in sheds requires proper planning and specific requirements to ensure both functionality and safety. Electrical conduits must be buried between 18 and 24 inches deep to provide adequate protection. Some codes permit 6-inch-deep burial with rigid metal conduit, but direct-burial UF-B cables must be buried at least 24 inches underground.
Your shed’s electrical wiring project starts with a power calculation to ensure performance and safety. To cite an instance, running equipment like a saw (1500W), lights (100W), and a heater (1200W) at the same time would need about 23 amps at 120V. The project must follow National Electric Code standards and local building requirements. Most local authorities ask for permit applications, conduct inspections during installation, and require final approval after completion. This piece walks you through the steps to wire your shed safely, from initial planning to final testing.
Planning Your Shed Electrical Installation

Your shed’s electrical installation starts with smart preparation. Good planning will give a system that works safely and serves your needs through all seasons.
Assess your power needs
You’ll need to evaluate how you plan to use your shed because this shapes your electrical requirements. The first step is to list every device that needs power, including:
- Lighting fixtures (interior and exterior): LED bulbs typically use around 10W each
- Power tools: Drills and saws might need between 300 and 1200W
- Charging stations: Phone chargers draw 5-10W while tool chargers need 20-60W
- Climate control: Think over heating or cooling needs if you plan year-round use
The total predicted load depends on which devices run at the same time. It makes sense to install extra capacity now instead of upgrading later.
Check local codes and permit requirements
Whatever the shed size, electrical work needs proper permits. Your shed might be small enough (under 120 square feet) to skip building permits, but electrical installations still need dedicated electrical permits. Some areas require both building and electrical permits for adding power.
The permit process usually involves:
- Filling out a development services intake form
- Submitting scaled plans
- Paying required fees
- Getting clearances from relevant authorities
Missing the work to be done on permits risks big fines and creates safety issues. Your local building department should be your first stop to learn about specific requirements in your area.
Choose between grid, solar, or generator power
Each power source comes with its own benefits:
Grid connection from your home’s main panel gives steady, reliable power but needs underground wiring and might cost more to install.
Solar power delivers clean, renewable energy with few ongoing costs. Solar panels with batteries let you stay off the grid and run silently—ideal for remote spots.
Generators give quick power with lower upfront costs. In spite of that, they need fuel, make noise, create emissions, and require more maintenance than solar options.
A hybrid setup works best for many shed owners—like using solar panels with a backup generator for those extra cloudy days.
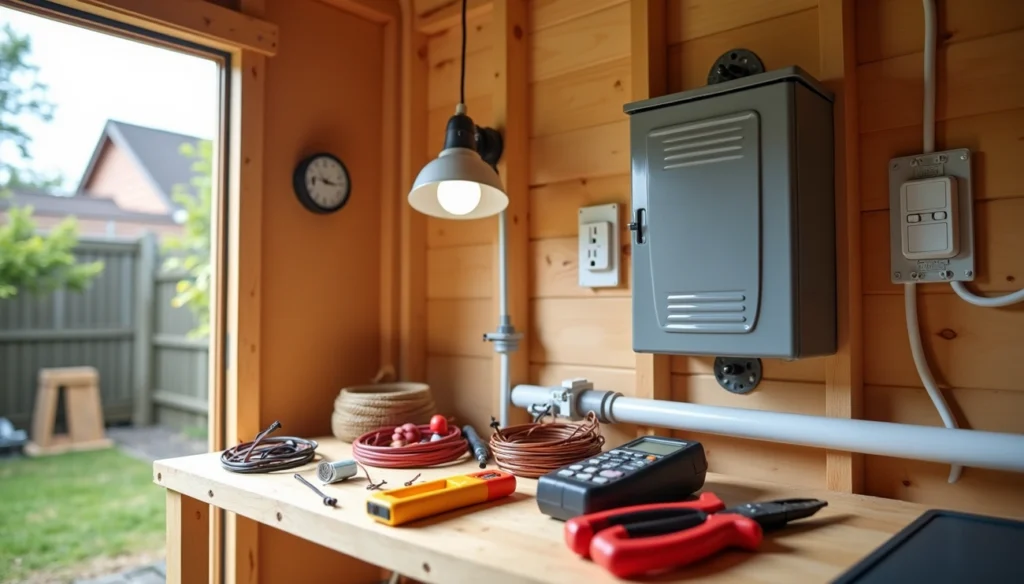
Essential Tools and Materials for Shed Wiring
The right tools and materials create the foundation of any successful electrical project. Good equipment makes shed wiring easier and helps meet safety standards.
Voltage tester and multimeter
A reliable voltage tester protects you from electrical hazards. Digital voltage testers can detect AC/DC voltages up to 600V and test for continuity. A multimeter that measures voltage, resistance, and current works best for advanced diagnostics. Models with backlight features and built-in flashlights work great in dark shed spaces. Advanced dual-range non-contact voltage testers detect voltages from 12V to 1000V, so you can test everything from low-voltage lighting to standard circuits.
Wire cutters, strippers, and pliers
Quality wire strippers with precision-milled stripping holes and hardened cutting blades remove insulation accurately without damaging conductors. Automatic wire strippers with self-adjusting jaws that fit common wire gauges work best for regular wiring projects. Needle-nose pliers help bend wires, create tight connections, and reach tight spaces. The best cutters come with dual cutting edges and beveled surfaces that make clean, sharp breaks.
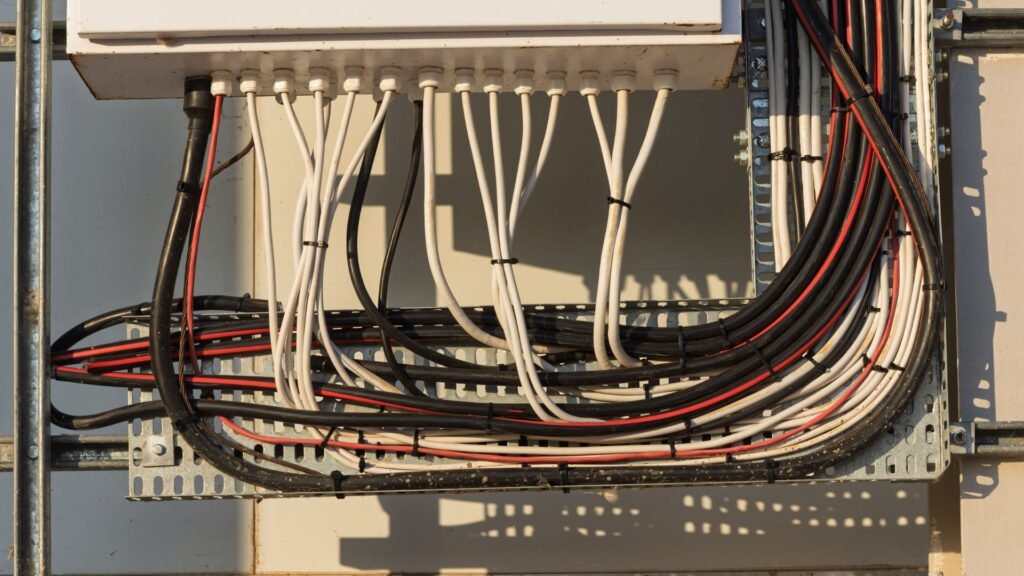
Conduit, junction boxes, and wire types
Shed wiring outdoors needs weather-resistant materials. Metal conduit covered by resistant plastic, known as liquidtight conduit, works best for underground or outdoor installations. Most shed circuits use 12-gauge THWN-2 copper wire for lighting and outlets. You’ll need 10-gauge wire for 30-amp circuits that power heaters or major tools. Make sure all junction boxes and conduit connectors have outdoor ratings with weatherproof features.
Safety gear: gloves, glasses, boots
Safety comes first in electrical work. Insulated gloves protect you from shock when handling live circuits. Safety glasses guard your eyes from flying debris during drilling or cutting conduit. Good work boots with non-conductive soles help prevent grounding hazards. This safety gear isn’t optional – it keeps you protected throughout your shed wiring project.
Step-by-Step Guide to Wiring a Shed for Electricity
Transforming your shed into a functional workspace starts with proper electrical installation. Your planned materials are ready, and now you can execute the actual wiring process.
1. Map the route and mark the layout
The first step requires plotting the shortest path from your power source to the shed. You should minimize the number of pipe bends to comply with the NEC’s 360-degree limit. A straight line marked with chalk or paint will guide your route effectively. Precise measurements help determine the right materials needed. The shed’s interior needs optimal locations for your panel, switches, outlets, and light fixtures based on your space utilization.
2. Dig the trench to the required depth
A tarp placed near your work area will collect excavated soil. The trench depth must meet specific codes—18 inches for PVC conduit or 24 inches for direct-burial UF-B cable. Metal conduit installations might allow 6-inch depths in some jurisdictions. A mattock creates less soil displacement than standard shovels efficiently.
3. Lay conduit and pull wire
The conduit installation begins with dry-fitting all sections. PVC solvent cement creates permanent, watertight seals between connections. Sweeping elbows at both ends allows easier wire pulling. The next step involves pushing the fishtape through end to end. Wire conductors attach to the fishtape and pull through the conduit. Leave about a foot of extra wire at each box.
4. Install subpanel or junction box
The subpanel mounts between wall studs with its top approximately 6 feet above floor level. Four bus bars exist inside the panel: a grounding bar, a neutral bar, and two hot main lug bars. Each feeder wire connects to its respective bus bar.
5. Wire outlets, switches, and lights
Non-metallic sheathed cable runs from the disconnect switch to a GFCI receptacle and then to the remaining outlets. The shed requires GFCI-protected receptacles throughout. Switches work best near entry doors, and light fixtures follow your predetermined layout.
6. Connect to the main panel (hire an electrician)
The main power must be off before attempting any work on the final connections. A licensed electrician should install the appropriate breaker in your main panel and complete final connections after backfilling the trench.
Safety Requirements and Final Checks
Safety goes beyond installation and requires regular checks and proper safeguards for your shed’s electrical wiring. Every detail plays a role in building a secure electrical system.
Use GFCI outlets in damp areas
Garden sheds face constant humidity changes that create shock hazards. The National Electrical Code requires GFCI outlets in all shed installations. These specialized outlets cut power automatically if they detect current leakage and protect you from deadly shocks. You should test them monthly – just press the test button, check if it trips, then reset.
Ensure proper grounding of the system
A proper ground connection protects you from electrical faults. Systems with a subpanel need solid grounding at the shed. Many people think grounding rods work alone, but you need a ground wire running back to the main service. This wire creates a safe path that diverts stray current during faults.
Test all connections with a voltage tester
You need to verify all connections with a voltage tester after completion. This vital step confirms power cuts off as needed, and proper grounding exists throughout. Testing helps prevent electrical problems down the road.
Label circuits for future maintenance
The electrical code requires clear circuit labels. Each breaker needs specific identification – not vague labels like “Mary’s Bedroom”. You must label even the spare breakers. Clear labels save time during troubleshooting later.
Conclusion
Proper shed wiring needs careful planning, the right tools, and strict safety standards. This piece covers everything from original power calculations to final testing procedures. The process might feel overwhelming at first, especially when you have no experience with electrical work.
Safety is crucial in any electrical project. GFCI protection, proper grounding, and complete testing protect your equipment and prevent life-threatening situations. Getting the required permits will give a legally compliant installation that meets local code requirements.
Your specific needs, location, and budget will determine whether you choose grid connection, solar power, or generator systems. Each option has its own advantages to consider before starting the work.
Note that licensed professionals should handle some parts of shed wiring – especially the final connection to your home’s main panel. Many DIY enthusiasts can handle most installation steps, but professional oversight of critical connections gives peace of mind and ensures code compliance.
You should double-check all connections, verify proper grounding, and test every circuit before powering up your newly wired shed. Clear labels on all circuits will make future maintenance or troubleshooting easier.
The effort pays off when you complete your own shed wiring project. A well-wired shed changes the space into a functional workshop, studio, or storage area. You can safely power tools, lighting, and climate control systems for years ahead.