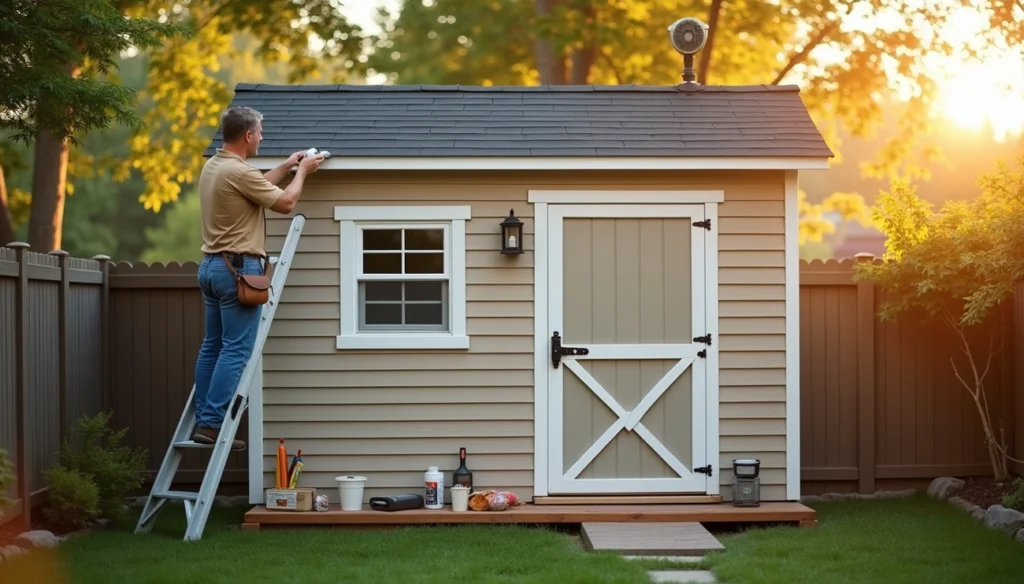
Your shed maintenance checklist needs attention to avoid early wear and repairs that can get pricey over time. Many sheds fall apart because their owners don’t recognize warning signs or wait too long to act. Regular checks of your anchoring system become crucial in high-wind regions like Florida, where structures must handle wind speeds up to 160 mph.
Small problems like light coming through cracks or moisture buildup inside the shed often turn into serious issues. This piece offers a complete maintenance guide to help you. We have expert-approved solutions ready for you, whether you need a yearly home maintenance checklist or want to create one just for your shed.
This piece shows you key maintenance items that shield your investment from weather damage, pests and daily wear. It also gives you expert knowledge about exterior fixes and moisture control methods. These techniques help keep steady internal temperatures and cut down condensation, particularly in tough weather conditions.
Inspect and Repair the Shed Exterior

A proper shed maintenance checklist starts with a full picture of the exterior. Regular checks will save you time and money by stopping small problems from turning into expensive repairs.
1. Look for cracks, holes, and leaks
I check my shed once every year, especially when we’ve had lots of rain after seasons of heavy precipitation. My exterior inspection focuses on:
- Water stains on the walls or the ceiling that show hidden leaks
- Soft or spongy wood sections that signal early rot
- Gaps around windows, doors, and corners
Small cracks might not seem like much, but they let moisture seep into the structure, and mold starts to grow. I use epoxy to seal minor cracks smaller than 1/8 inch. Horizontal cracks or stair-step patterns in brick usually mean more serious structural problems than vertical ones.
2. Check the roof for missing shingles or soft spots
Weather elements hit the roof hardest and cause the most damage. My inspection routine includes:
You need to replace damaged or missing shingles right away to stop water from getting in. I also watch for discolored or damp patches on the inside ceiling since these show roof leaks.
A close look at the entire roof surface helps spot soft spots where rot might be starting. Clean gutters will give proper drainage and stop water from collecting on the roof, which often creates leaks over time.
3. Examine siding and foundation for damage
The siding can reveal big foundation problems. I look for warping, rotting, or cracking in the siding panels. Loose panels need quick re-fastening, and damaged ones must be replaced.
Your shed’s foundation is a vital support structure. I make sure it stays level without cracks. Standing water around the perimeter raises red flags because it can make the soil shift under the structure.
Keep vegetation trimmed away from the shed to prevent moisture buildup and reduce pest problems. Stacking items against exterior walls can damage the siding and trap moisture, so avoid doing that.
Seal, Paint, and Weatherproof
The next significant step in your shed maintenance checklist focuses on weatherproofing to help your structure last longer. Your shed needs complete protection from the elements through proper sealing and protective coatings.
4. Apply UV-resistant paint or stain
The sun’s UV rays can damage your shed’s structure and color by a lot. UV-resistant paint or stain plays a vital role in protection. High-quality products made for exterior use create a strong barrier against moisture. Here’s what works best:
- Multiple coats give maximum durability
- Waterproof exterior paint works best
- Fresh coats every few years keep protection strong
Wood tends to shrink or expand in extreme temperatures. Quality protective finishes help prevent cracks. UV-resistant products reflect harmful rays and stop discoloration. This helps your shed’s finish last much longer.
5. Seal windows and doors to block moisture
Look for gaps in doors, windows, and walls before you paint or stain. Water, drafts, and sometimes pests can sneak through these openings. Professional builders recommend silicone sealant for shed windows.
Expanding foam works great for bigger gaps before adding trim. It creates a solid barrier and fills uneven spaces well. A properly sealed shed keeps insects away, too—this benefit often gets overlooked during maintenance.
6. Add weather stripping where needed
Strong, exterior-grade weather stripping around windows and doors blocks moisture infiltration effectively. Foam weather stripping creates an excellent seal between doors, windows, and frames. It’s also simple to install.
Door bottoms need extra attention. A twin-fin silicone sweep stops drafts from coming underneath. Check for gaps after installation and adjust as needed. Weather stripping can wear down over time, so add it to your yearly home maintenance checklist.
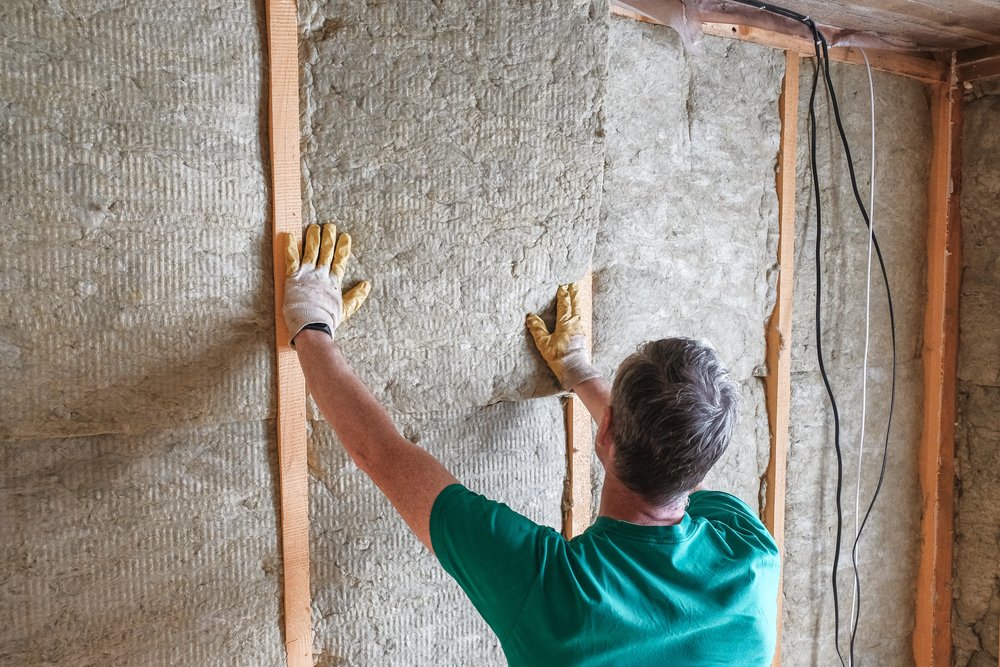
Control Moisture and Ventilation
Proper ventilation is the lifeblood of effective moisture control in your shed. Humidity builds up without it and leads to mold growth and structural damage. Your shed maintenance checklist should include ventilation to create a healthier environment for stored items and the structure itself.
7. Install ridge or soffit vents
Ridge vents along the roof peak naturally release warm air. Soffit vents under the roof’s overhang let cooler air enter from below. These vents work together to create a passive ventilation system through thermal buoyancy, eliminating the need for electricity.
The total ventilation area needed can be calculated easily. Take your attic’s square footage and divide it by 150. Your ventilation should be split equally between intake (soffit) vents and exhaust (ridge) vents.
Soffit vent installation requires:
- Built-in screens in each vent to keep insects out
- Clear airflow paths between trusses without insulation blocking the way
- Even spacing of vents to maintain balanced airflow
8. Use solar exhaust fans for airflow
Solar-powered fans provide an eco-friendly solution when natural ventilation isn’t enough. These fans control sunlight to power ventilation without adding to energy costs.
Solar exhaust fans effectively remove humid air and prevent condensation in high-moisture environments. Advanced models come with lithium-ion batteries that keep working at night, which provides continuous protection from moisture buildup.
These fans maintain stable temperatures throughout the seasons in sheds used as workspaces or equipment storage. The quiet operation of these fans is an added benefit that preserves your outdoor environment’s peace.
Pest and Security Measures

A complete shed maintenance checklist should protect against weather, pests, and security threats. These measures will protect your structure and everything inside it from damage.
Trim vegetation around the shed
Trimmed bushes and trees won’t become hiding spots for thieves. Your shed’s security improves significantly with a vegetation-free zone that keeps pests away. Gravel or mulch paths near the shed make it difficult for intruders to move quietly.
Inspect for termites, ants, and rodents
Look for these signs of pest problems throughout the year:
- Shed wings or hollowed wood sections
- Tiny pellet-like termite droppings (frass)
- Wall holes and foundation cracks
- Wood that sounds hollow when knocked
Early problem detection comes from regular checks. Construction caulk seals the cracks that bugs and rodents use to enter.
Use locks and motion lights for protection
Strong locks are the foundations of security and work better with motion-sensor lights. Solar-powered security lights (3000 lumens) light up the area when they detect movement and scare away intruders. Multiple lock types offer better protection – a latch lock combined with a padlock or code lock will stop casual thieves.
Conclusion
A properly maintained shed saves you money and prevents headaches down the road. This piece covers key areas that just need regular attention to keep your shed in great shape. Neglected sheds can fall apart quickly. Following a detailed maintenance checklist stops small problems from turning into major structural issues.
Your shed’s exterior works as the first defense against weather damage. Regular checks help spot problems early before they get worse. You’ll need to fix cracks, missing shingles, and foundation issues right away. Good weatherproofing with UV-resistant paint, quality sealants, and weather stripping creates several layers of protection against moisture.
Proper ventilation is maybe even the most overlooked part of shed maintenance. Ridge vents, soffit vents, or solar fans effectively curb humidity and condensation that cause mold and wood rot. It also helps to add pest prevention and security measures that protect both the structure and everything inside.
Different seasons call for different maintenance tasks. Fall checks get your shed ready for winter, while spring inspections show any damage from frost or heavy snow. Summer gives you a perfect chance to paint and seal.
This maintenance checklist takes time and effort. But your investment pays off with a longer-lasting shed and fewer repairs that can get pricey. Small fixes today prevent big problems tomorrow. A shed that’s managed to keep its condition provides reliable storage and workspace for years.