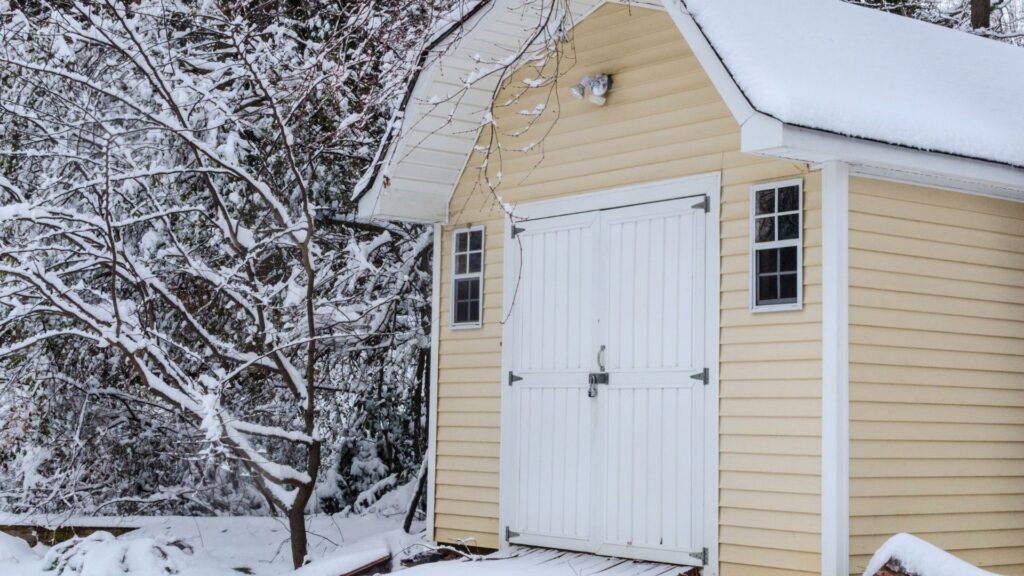
Winter weather can damage your outdoor structures if you don’t protect them properly. Your shed needs proper winterization to keep your belongings safe and avoid repairs that can get pricey in spring.
We created this detailed guide to help you winterize your shed the right way. A few simple steps like sealing gaps, keeping pests out, and checking moisture levels will save you time and money when spring arrives. Winterizing protects your items from the harsh cold. The process maintains your shed’s long-term value by stopping structural problems like rot, rust, and warping that reduce its lifespan. Our practical advice covers everything from metal shed winterization to step-by-step plans for any material. You’ll rest easy knowing your shed can handle winter’s challenges.
Clean and Declutter Before the Cold Hits
A full cleaning and organization of your shed is the first vital step to proper winterization. This foundational task helps prevent moisture damage and improves air circulation. You’ll also spot any structural problems that need fixing before winter comes.
Remove debris and sweep the floor
Your winterization process should start by emptying everything from your shed. This gives you a great chance to inspect and clean the space properly. Sweep away all dirt, cobwebs, and debris that built up during the warmer months. The corners and ledges need extra attention since leaves and other materials collect there, especially if your doors stayed open during spring or summer. Getting rid of organic matter is vital because it can lead to mold growth inside your shed during winter if left to decompose.
Sort and discard broken or unused items
Once your shed is empty, organize everything into three groups:
- Keep: Items you use often or need
- Donate: Working items you don’t need anymore
- Discard: Broken, damaged, or expired materials
This basic sorting gets rid of clutter and makes room for essential items. You’ll get a better sense of your storage needs by removing broken tools, duplicates, and unused items. This step helps create a solid plan to winterize your shed.
Wipe down surfaces and check for mold
The next step involves wiping all surfaces with a mild cleaning solution to remove dust, grime, and possible mold. Your wooden handles need inspection for breaks and treatment with linseed oil. Metal blades of garden tools should be cleaned with a wire brush to remove dirt and rust. Look carefully for mold or mildew signs, especially after a humid year with noticeable moisture inside your shed. Any mold you find needs immediate treatment with a mold remover spray to stop it from spreading during winter.
Switch from cardboard to plastic bins
Plastic storage bins make a smart investment for winterizing your shed. These bins resist water better than cardboard boxes, which absorb moisture and fall apart quickly. Plastic containers seal tightly and protect your belongings from humidity, temperature changes, and pests that might use cardboard for nesting. Your valuable or fragile items stay better protected from winter elements in plastic bins. This upgrade becomes especially important for metal sheds, where condensation often causes problems.
Inspect and Repair Structural Weaknesses
A clean and organized shed means it’s time for your next important job – a structural inspection. Small weak spots can become serious issues once winter hits.
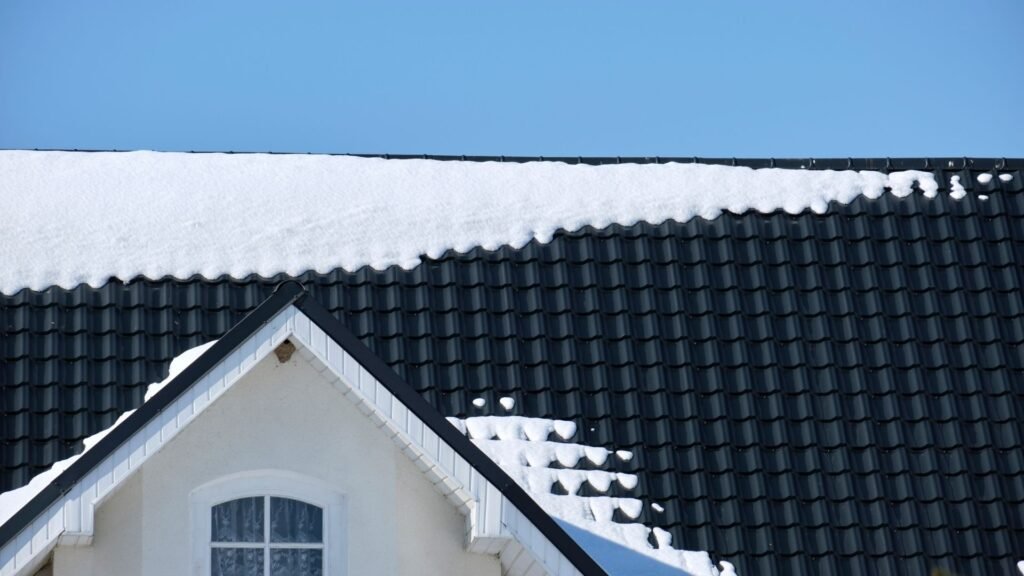
Check the roof for leaks or missing shingles
Grab some binoculars and take a good look at your shed’s roof. You’ll want to spot any missing shingles, odd colors, or edges that curl up. The flashing around vents needs special attention, along with spots where roofing meets the walls. Your shingles might get loose from strong winds or regular wear, letting water seep in. Water stains on the ceiling are telltale signs of slow leaks hiding under the surface. The attic space (if you have one) might show daylight coming through – that’s a sure sign of potential leaks.
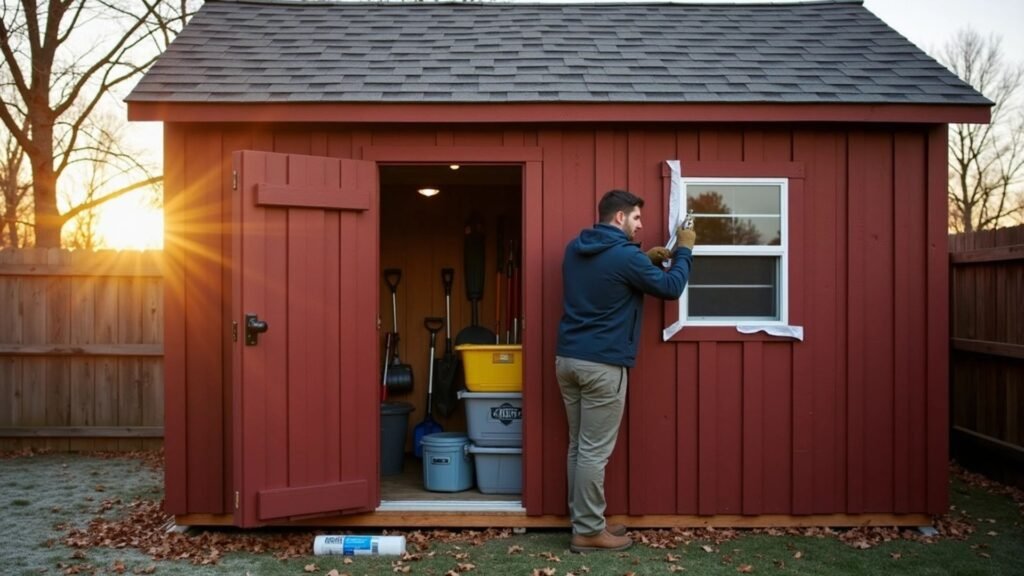
Seal cracks in walls, windows, and doors
Winter’s freeze-thaw cycles can make tiny gaps between wood panels or around windows much bigger. Take time to check all seams and joints, then use exterior-grade caulk on the smaller cracks. Bigger gaps need expanding foam spray – it works great at sealing those hard-to-reach spots. The places where walls meet the floor and roof often develop cracks. A quality silicone sealant along the window and door frames creates a solid barrier against water.
Reinforce the foundation to block pests
Tiny holes in your foundation can become perfect doorways for mice, squirrels, and other creatures looking for winter homes. Look carefully at the gap between your shed floor and the ground to find possible entry points. Chicken wire or trellis sections work well to keep unwanted guests out. Elevated sheds need special care – swap any rotting wood for PVC materials that handle moisture better and keep pests away. This quick fix protects both your shed’s structure and everything stored inside.
Replace worn weather stripping
Well-sealed doors and windows still need good weather stripping to keep the elements out. Look for signs that your current strips are compressed, cracked, or gapped. Old strips won’t seal properly anymore, and cold air and moisture will get in. Put in new, tough exterior-grade products that can handle temperature changes. The bottom of doors needs attention too – a twin-fin silicone sweep keeps drafts and moisture at bay.
Protect Against Moisture and Freezing
Moisture is your shed’s biggest enemy during winter. It can warp floors, rust tools, and cause structural rot as time passes. You need an integrated approach to protect your investment from winter’s relentless dampness.
Install vapor barriers on the floor and walls
A good vapor barrier is a vital protective layer between soil moisture and your shed structure. You should place polyethylene sheeting (6-mil thickness minimum) beneath your shed floor to stop ground moisture from seeping upward. The best protection comes from 10-mil or 15-mil barriers, especially when you have very wet areas. These barriers stop wood rot, block mold growth, and can add decades to your shed floor’s life.
Add roof or gable vents for airflow
Proper ventilation stops condensation that happens when warm air hits cold surfaces. You can install gable vents at opposite ends of your shed or add ridge vents along the roof peak to let trapped humidity escape. Fresh air keeps moving through your shed, which stabilizes temperatures and stops moisture from building up. Larger sheds need 1 square foot of ventilation for every 150 square feet of floor space.
Use moisture absorbers like silica gel
Your shed needs dehumidifiers or moisture-absorbing products throughout its interior. Silica gel packets work well in smaller spaces, while calcium chloride containers are a great way to get protection in larger areas. These absorbers trap excess humidity before it turns into condensation on tools and surfaces.
Ensure proper drainage around the shed
The ground around your shed’s foundation should slope slightly so water flows away naturally. Gutters and downspouts help direct rainwater and melted snow away from your shed’s base. Areas with poor soil drainage benefit from a layer of gravel around the perimeter that helps water spread better.
Store Tools and Equipment the Right Way
The right storage of your tools and equipment serves as a crucial final step to completely winterize your shed. Good preparation now will save you from headaches when spring comes around.
Drain fuel from gas-powered tools
Standard pump gasoline deteriorates quickly and shouldn’t be kept over 30 days. Empty the fuel tank of lawnmowers, trimmers, and other gas-powered equipment, then run the engine at idle until it stops. You can add a fuel stabilizer based on the dosage directions to keep gas fresh for up to six months. Start each season with fresh fuel instead of using leftover gas from fall.
Clean and oil metal tools to prevent rust
Metal tools are much less likely to rust with proper cleaning and oiling before storage. Start by scraping away dirt with a wire brush. A light coat of oil will protect metal surfaces from moisture. Wooden handles need treatment with linseed oil to prevent drying and cracking. A spray of lubricant on hinges and moving parts will stop them from rusting into place.
Lift items off the floor
Tools need protection from moisture that can seep up through the floor. Therefore, use wall hooks, pegboards, or shelving to store items vertically. Larger equipment should rest on pallets or concrete blocks.
Label and group seasonal items
Clear, weather-resistant plastic bins with tight-fitting lids work better than cardboard boxes. Each container needs clear labels, with similar items grouped together for quick identification.
Keep winter tools available
Your organization should reflect how often you’ll use items during winter. Snow shovels, ice melt, and winter equipment should stay near the entrance for easy access. Summer tools can go toward the back until needed again.
Conclusion
Your shed needs proper winterizing, and the time you spend now will definitely pay off by spring. This piece covers everything you need to protect your investment from harsh winter weather. A deep clean sets the stage for all other winterization work. You should fix structural problems before they turn into bigger issues when the time snow and ice hit.
Moisture control is the biggest problem to tackle, maybe even the most crucial part of winterizing your shed. The sturdiest shed will break down from rot, rust, and mold without good barriers and ventilation. You need to put in vapor barriers and create proper airflow before cold weather sets in.
Taking good care of your tools and equipment will keep them working well and make them last a lot longer. You’ll be ready to start your spring projects with tools that aren’t rusty or damaged.
Winterizing might look like a tough weekend job, but it becomes much easier if you break it into smaller tasks. A few hours of prevention now will save you days of repairs and hundreds of dollars down the road. Weather can change quickly, so early winterizing will give a protected shed whatever the first freeze hits. You’ll rest easy knowing your outdoor structure and valuable equipment stay safe through the winter.